Introduction to Drywall Painting
Painting drywall is a crucial step in both new constructions and renovations, transforming blank canvases into beautiful, inviting spaces. This process involves not just applying color, but mastering techniques that ensure durability and aesthetic appeal. Whether you’re a DIY enthusiast or a seasoned professional, understanding the intricacies of drywall painting can significantly elevate the quality of your work.
What is Drywall Painting?
Drywall painting refers to the process of applying paint to drywall surfaces, which can include walls and ceilings made from gypsum board. This procedure requires adequate preparation and specific techniques to ensure a smooth, attractive finish. While it seems straightforward, painting drywall involves a comprehensive understanding of materials, tools, and methods that contribute to the longevity and aesthetic of the painted surface.
Importance of Proper Techniques
Efficient drywall painting is more than simply rolling on a coat of paint. Proper techniques can prevent issues like peeling, uneven coverage, and unsightly streaks. Furthermore, knowing how to prepare the surface and select the right materials can make a drastic difference in the final look. For instance, using the appropriate primer can enhance paint adhesion, ensuring a lasting finish that resists wear and tear.
Common Mistakes to Avoid
Many DIY painters fall into the trap of rushing the process or skimping on preparation. Common mistakes include skipping primer, failing to repair imperfections, and not allowing adequate drying time between coats. Each of these oversights can lead to poor results, making it crucial to understand and avoid these pitfalls to achieve the best results.
Preparing for Drywall Painting
Preparation is critical in achieving a beautiful drywall painting. It involves several steps, including cleaning, repairing, and selecting the right materials.
Cleaning and Repairing the Surface
Before applying any paint, take time to clean the drywall thoroughly. Dust and debris can prevent paint from adhering properly. Begin with a good vacuum or dry cloth to remove any dirt.
Next, inspect the surface for imperfections. Common issues include dents, scratches, and seams where drywall boards meet. Use spackle or joint compound to fill in any holes or uneven areas. Once the compound has dried, sand the surface until it is smooth to create an even base for painting.
Selecting the Right Paint and Tools
Choosing the right paint is essential for achieving the desired finish and durability. Latex paint is typically the best option for drywall, as it is easy to clean and dries quickly. Moreover, consider the paint’s finish: flat for ceilings, eggshell or satin for walls, and semi-gloss for trims and moldings.
In addition to paint, you’ll need quality painting tools. A good roller and brush set can significantly affect the ease and outcome of your work. Additionally, consider using painter’s tape to protect edges and achieve clean lines.
Understanding Primer Use in Drywall Painting
A primer enhances paint adhesion and helps create an even surface, especially on new drywall. For best results, use a PVA (polyvinyl acetate) primer designed for drywall. Priming not only improves adhesion but also reduces the amount of paint needed for full coverage, particularly when using lighter colors over darker surfaces.
Step-by-Step Process of Painting Drywall
Executing the drywall painting involves a systematic approach to ensure a professional finish.
How to Properly Apply Primer
After preparing the drywall, the first step is to apply the primer. Start by stirring the primer thoroughly to ensure consistency. Using a roller, apply the primer evenly across the surface, tackling large areas, while using a brush for edges and corners. Pay attention to seams and corners where dryness and unevenness are more pronounced.
Allow the primer to dry fully, checking the manufacturer’s instructions for the appropriate drying time. This step is crucial; applying paint too early can lead to problems like peeling or an uneven finish.
Rolling and Brushing Techniques
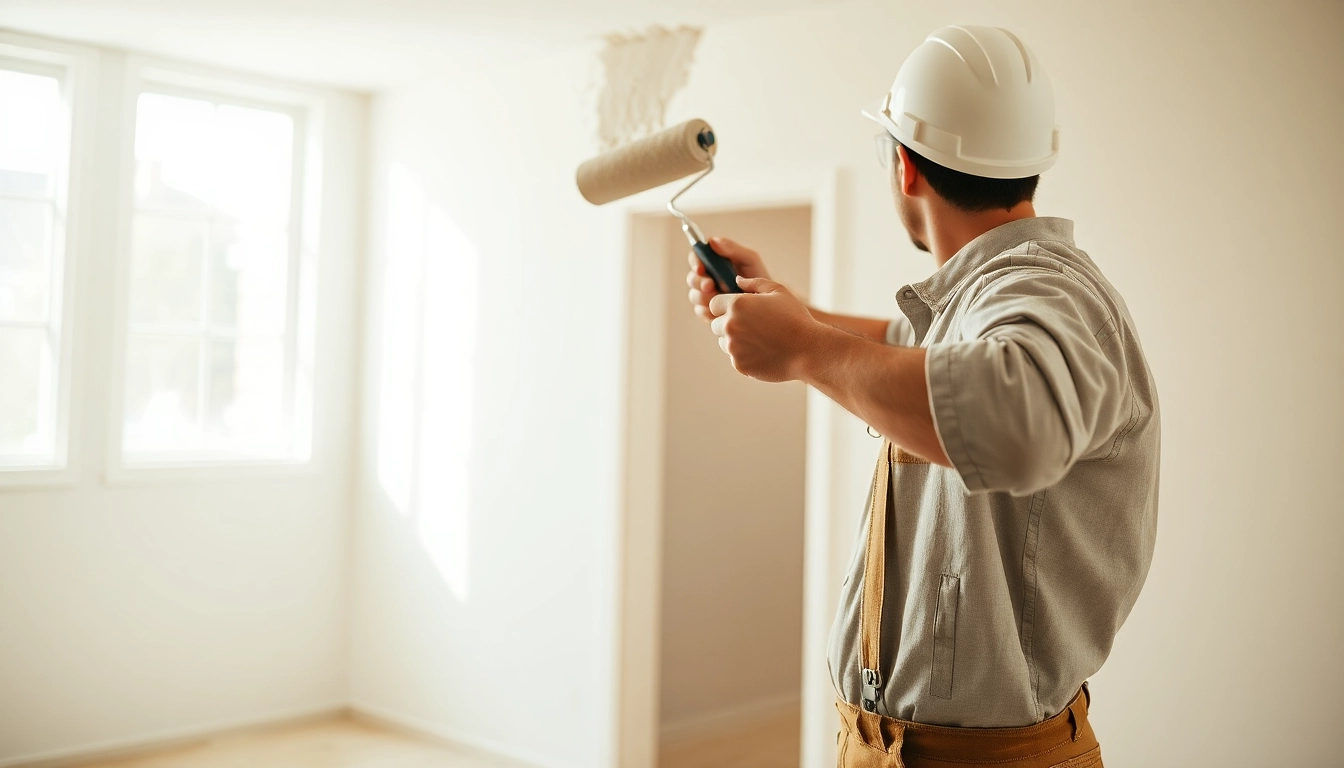
Once the primer has dried, it’s time to apply the paint. Use a roller to cover broad areas efficiently; start in one corner and work your way methodically around the room to ensure even coverage. For areas that the roller can’t reach, switch to a brush. One recommended technique is to ‘cut in’—use a brush to paint the edges first before filling in with the roller.
When rolling, use long, even strokes. Avoid pressing too hard, as this can cause the roller to splatter paint. Apply two to three coats of paint, allowing each coat to fully dry before adding the next. If the finished surface appears uneven, lightly sand between coats for a smoother outcome.
Tips for Achieving Even Coverage
Achieving an even coat of paint is vital for a polished look. Here are some tips:
- Ensure even loading of the roller with paint for consistent distribution.
- Use a high-quality roller cover suited for your paint type.
- Work in sections, maintaining a wet edge to avoid lap marks.
Advanced Techniques for Professional Results
Once the basic steps are mastered, you can start to explore advanced techniques that can add dimension and personality to your painted drywall.
Using Textured Finishes
Textured finishes can provide depth and interest to your surfaces. Techniques like sponge painting or rag rolling can create unique patterns. Another popular method is to use a spray texture, which can add both style and serve functional benefits such as improved acoustics.
Layering Paint for Depth
Layering involves applying different paint colors or finishes to achieve a specific aesthetic. For example, using a base coat of a neutral color and adding a lighter or darker shade on top can create a visually appealing contrast. This technique can also involve the use of glazes or satin finishes that reflect light differently.
Final Touch-Ups and Clean-Up
After finishing your paint application, inspect the walls for any missed spots or imperfections. Touch these areas up, and allow the paint to cure completely. Clean your brushes, rollers, and trays promptly to extend their lifespan. Dispose of any unused paint according to your local regulations.
Maintaining Your Painted Drywall
Once painted, maintenance is key to prolonging the life span and appearance of your walls.
Cleaning and Caring for Painted Surfaces
Keep your painted drywall clean by dusting it regularly, and wash with a damp sponge if necessary. Avoid abrasive cleaners or scrubbing tools that can damage the paint surface. For wall stains, a mild detergent and water solution usually suffice.
Repairing Damage and Touch-Ups
Over time, wear and tear may occur. Scratches or holes can be repaired with spackle; sand, prime, and repaint these areas for a seamless look. Always keep a small quantity of your original paint for quick touch-ups, ensuring color consistency.
When to Repaint Drywall
Repainting is necessary when the paint becomes dull, starts to peel, or if you wish to refresh your space with new colors. Generally, interior walls should be repainted every 5 to 7 years, but factors like sunlight exposure, moisture, and room usage can affect this timeline.